Step 1: Find your Facebook Account ID
- Go to Ads Manager.
- Click the Account dropdown menu. You should now see the ID number for your ad account.
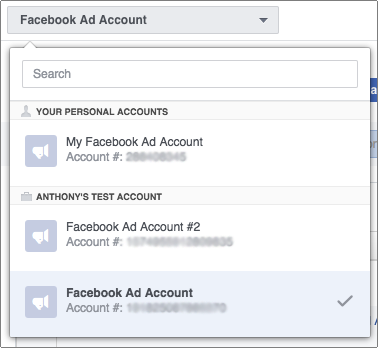
If you have trouble locating your ad account ID number, look for act= in the URL of your browser's address bar.

Step 2: Input your Facebook Account ID number in the Jenfi Dashboard
- Log in to Jenfi (or click on Dashboard at the top if you are signed in already).
- Scroll down to Facebook Account ID and input your Facebook Account ID from Step 1.
- Click Update.
After you input and save down your Facebook Account ID, we will send a request to request view-only access to your Facebook Ads Account.
Step 3: Approve Facebook request
You’ll receive an email from Facebook asking you to approve the request.
- Click on the button in the email.
- You’ll be taken to your Facebook Account page, where you’ll have the ability to approve the request.
On the off chance that you don’t get the email, you can always log into your Facebook Ads Account and click on the gear icon in the upper right-hand corner to access your Facebook Ads settings, where you can see any pending requests.