Step 1: Access your Braintree Account
- Login into the Braintree Control Panel.
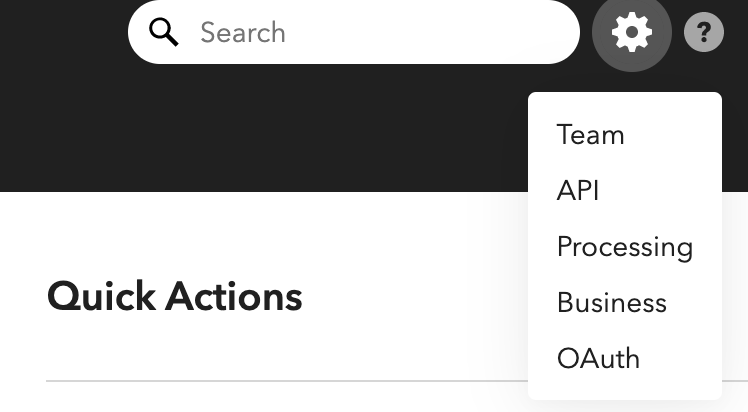
- Click on the gear icon next to the search bar at the top right-hand side.
- Click Team under the dropdown menu.
You will be brought to the page with a list of current users on your team and their respective roles.
Step 2: Set up a New Role
- Click on the Manage Roles button to see a list of your existing roles.
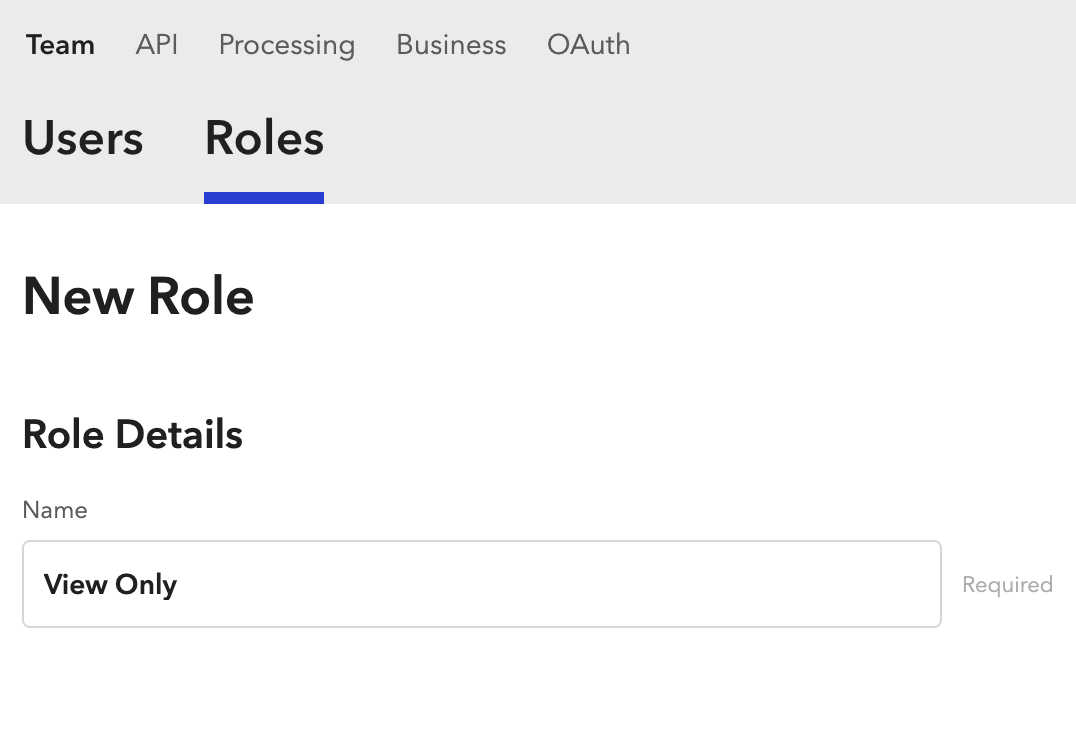
- Click on the New Role button to create a new role.
- View Only
Type this into the Name field. - Scroll down the list of boxes under Rights Granted.
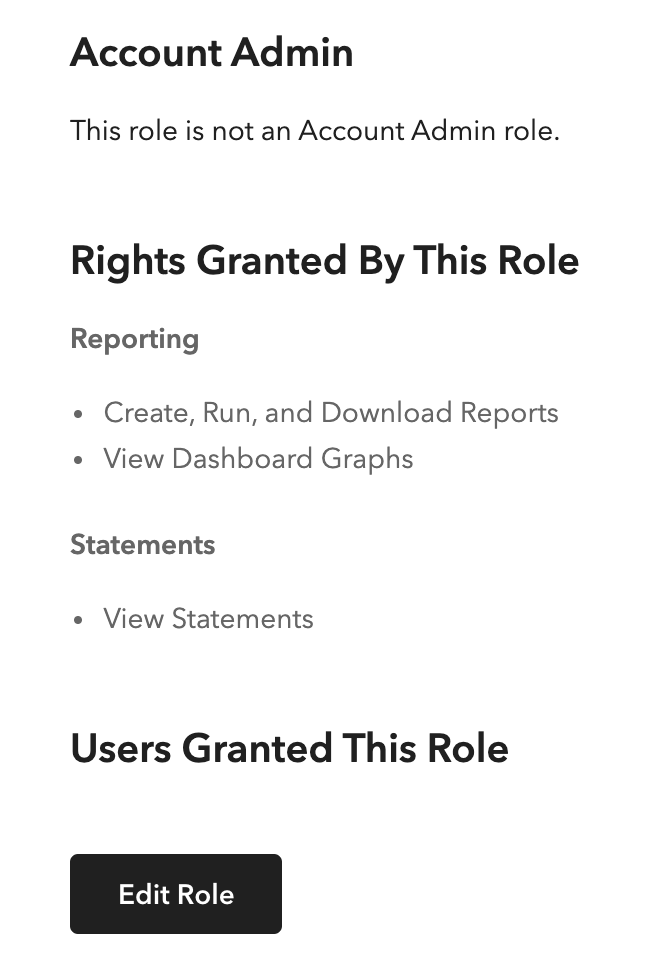
- Check the Reporting boxes - Create, Run, and Download Reports and View Dashboard Graphs.

- Check the Statements box - View Statements.

- Click on the Create Role button.
You will receive a confirmation message. Confirm that your role settings are correct.
Step 3: Invite Jenfi as a New User
- Click on the Users tab at the top of the page.
- Click +New User.
- Copy/Paste 'Email To Invite' (see below) into the email field.
- Check Boxes
- Under API Access, check API Access.
- Under Roles, check View Only.
- Under Merchant Accounts, check All.
- Click on the Create User button.
Jenfi will receive view-only access of your Braintree Account upon accepting the invitation email.